Sessions
Learn how to participate in workflow sessions, complete stages, and navigate the session interface.
Sessions are where the actual work happens in Eddy. When participants start a workflow, they enter a session where they can complete stages, fill out forms, and progress through the workflow.
Starting a Session
When you click a start link, you'll see a landing page with details about the workflow. Click Start Session to begin.
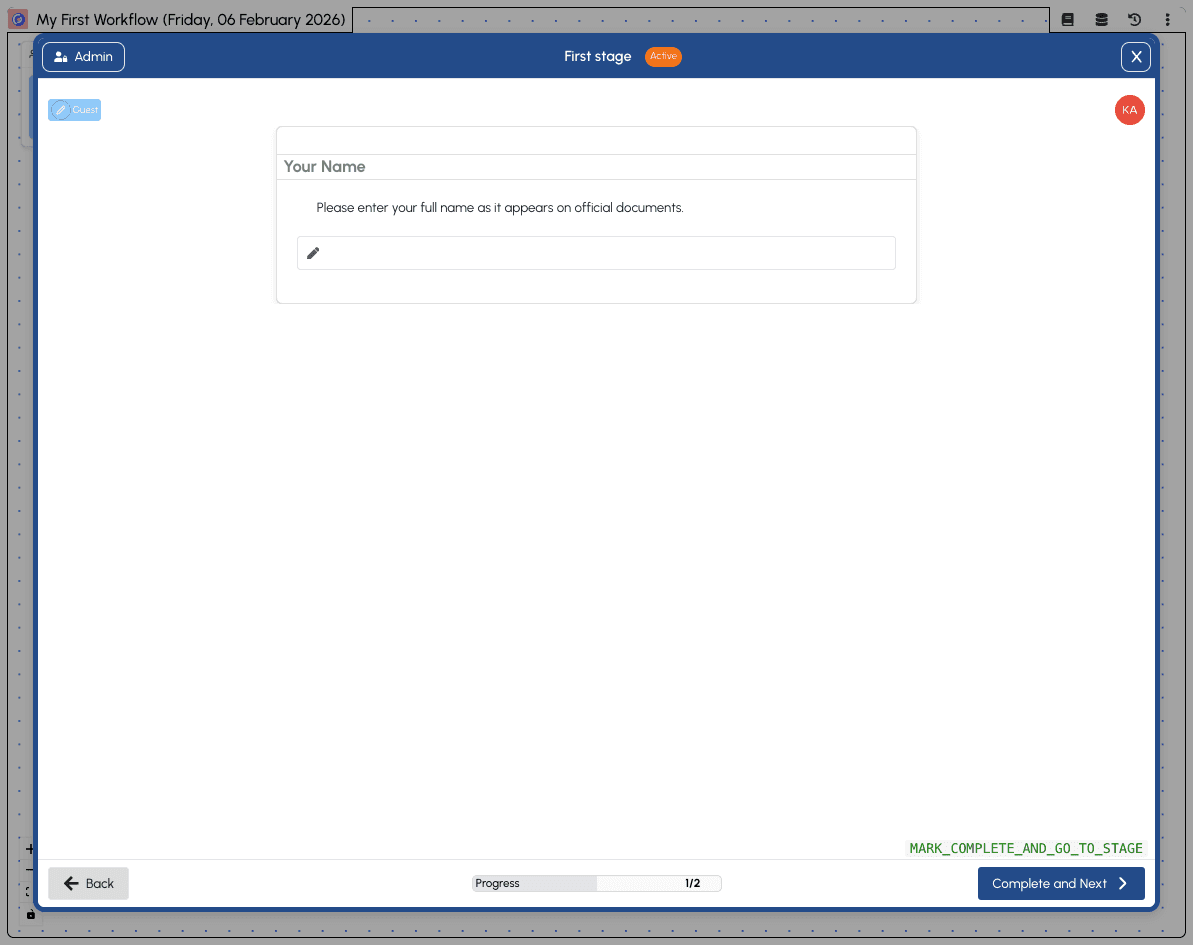
The Session Interface
Once you start a session, you'll see the stage dialog with your first task.

The session interface includes:
- Header bar - Shows the workflow name and current date
- Admin button - Access administrative features (if you have admin permissions)
- Stage title - "First stage" with an "Active" badge indicating it's your current stage
- Role badge - Shows your assigned role (e.g., "Guest")
- Form content - The fields and blocks configured for this stage
- Progress bar - Shows how far you are through the workflow (e.g., "1/2")
- Navigation buttons - "Back" to go to the previous stage, "Complete and Next" to progress
The Session Map
Close the dialog by clicking the X button to see the session map.
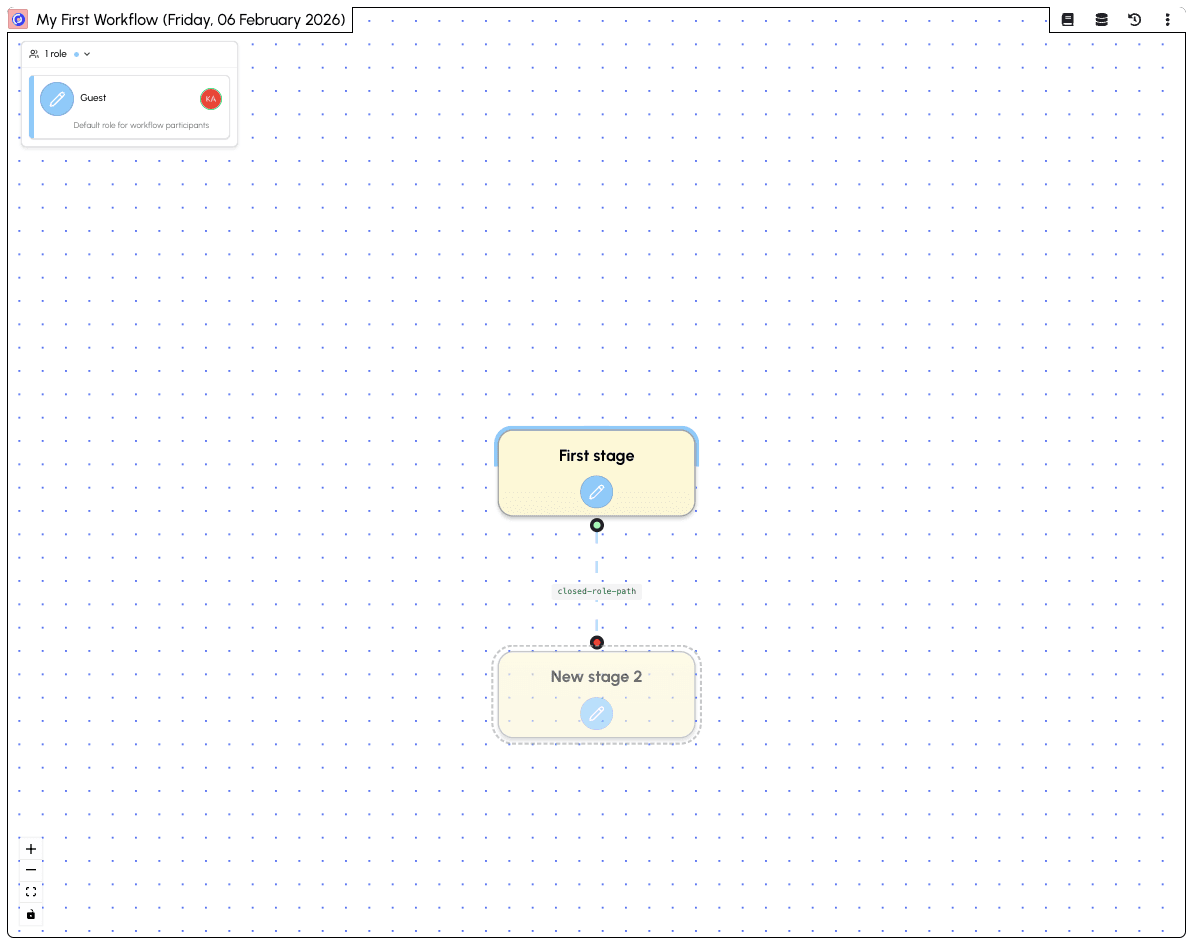
The session map shows:
- Visual workflow - All stages displayed as connected nodes
- Your progress - Active stages are highlighted, completed stages show a checkmark
- Role panel - Shows your assigned roles and descriptions
- Zoom controls - Zoom in/out and fit view to canvas
Click on any stage node to open its dialog and view or complete its content.
Completing a Stage
To complete a stage:
- Open the stage - Click on the stage node in the map
- Fill in the required fields - Enter information in any form fields
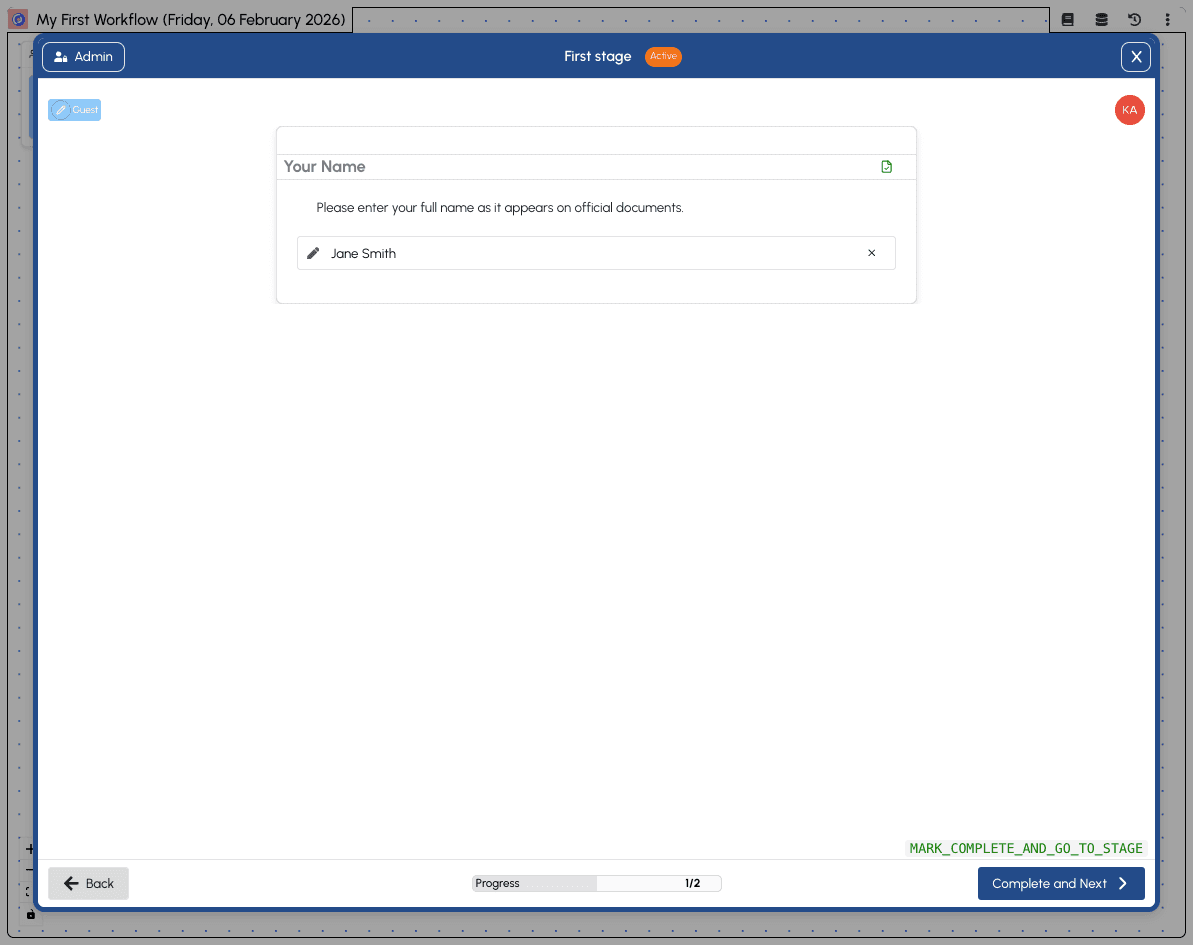
- Click "Complete and Next" - This marks the stage as complete and moves you to the next stage
Progressing Through Stages
After completing the first stage, you'll automatically move to the next stage.
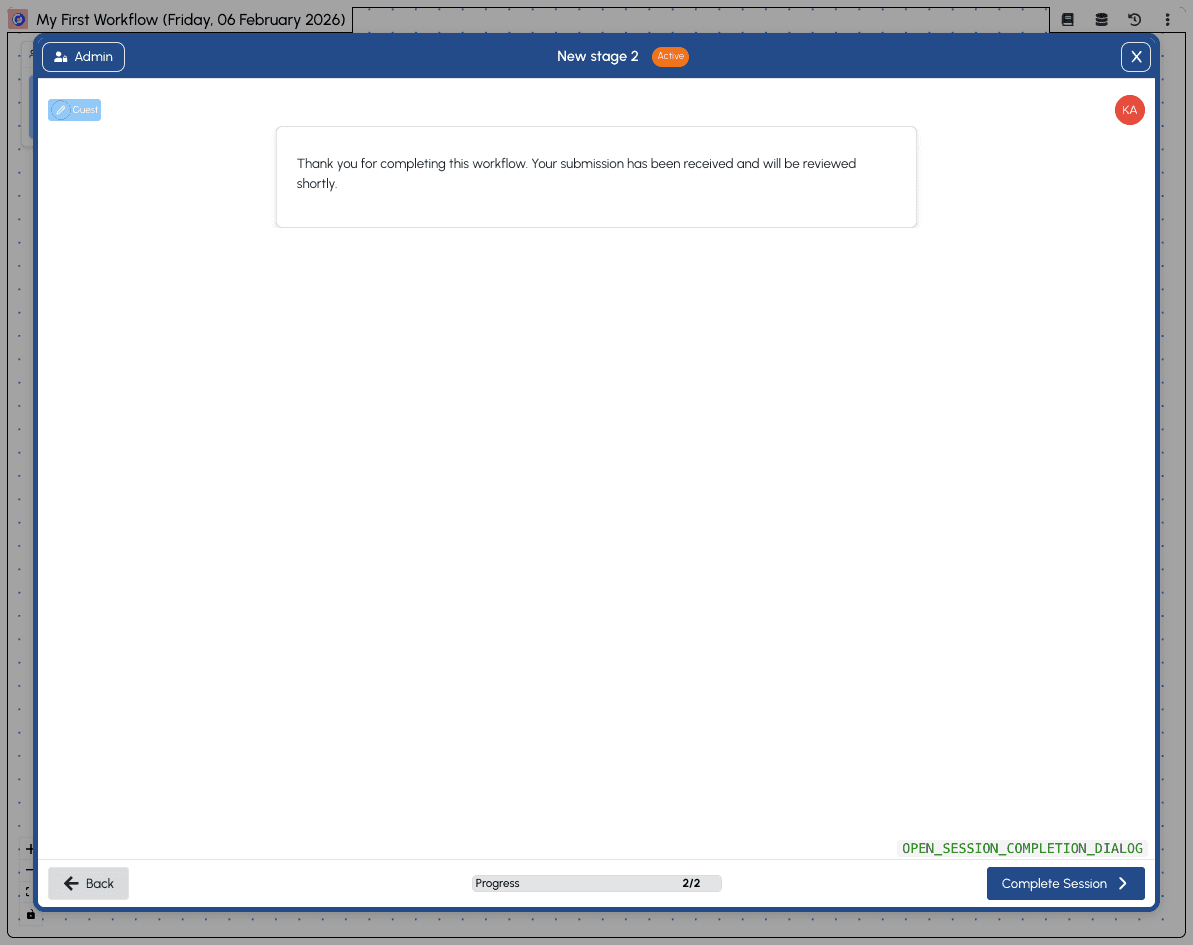
The second stage in our example workflow shows:
- Content block - Displays the thank you message we configured
- Progress - Updated to "2/2" indicating this is the final stage
- Complete Session button - Since this is the end stage, the button changes from "Complete and Next" to "Complete Session"
Getting Help
If you get stuck or have questions while completing a session, you can request help from workspace administrators.
Click the Support button (headset icon) in the session header to open the support dialog. Type your message and send it — workspace admins will be notified and can respond directly in the thread.
You'll see a red dot on the Support button when there are unread replies to your messages.
Completing the Session
When you reach the final stage and click Complete Session, a confirmation dialog appears.
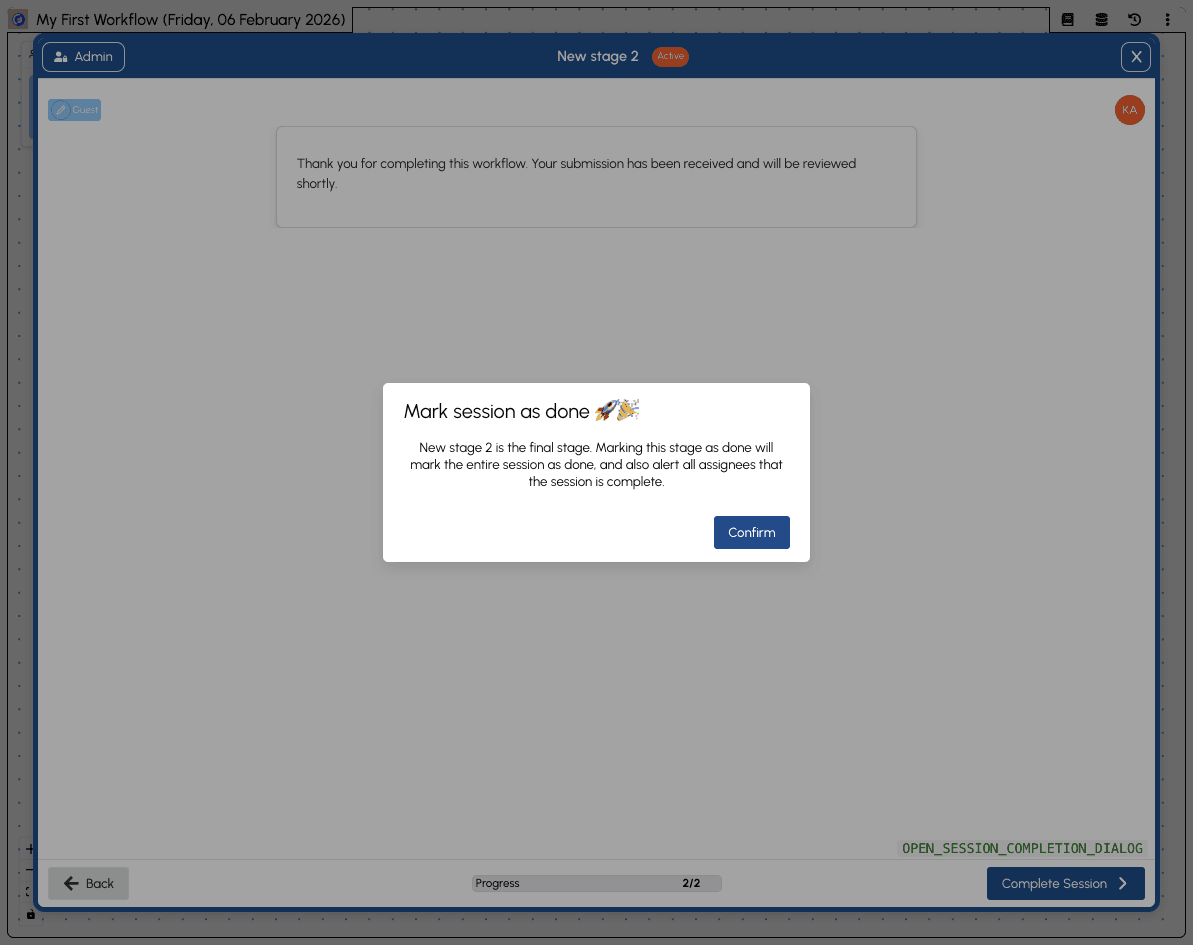
The confirmation explains that completing this stage will:
- Mark the entire session as done
- Alert all assignees that the session is complete
Click Confirm to complete the session.
Session Completed
Once confirmed, you'll see the completed session view.
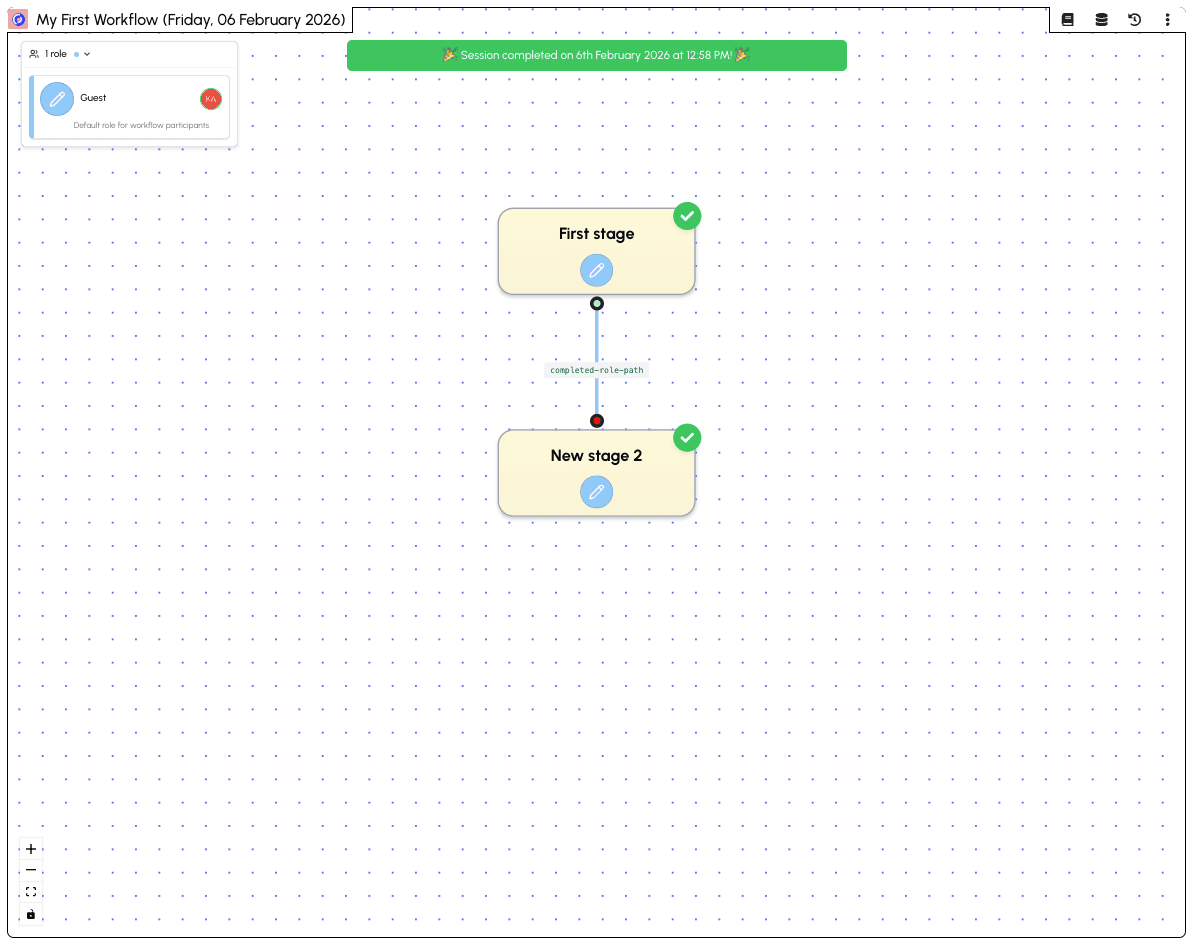
The completed session shows:
- Celebration banner - "Session completed on [date] at [time]"
- Green checkmarks - All stages show completion checkmarks
- Completed path - The connection between stages shows "completed-role-path"
Your session data has been saved and can be viewed by workflow administrators in the Data section.
Next steps: Learn how to view and manage your collected data in the Sheets section, or see how administrators can monitor running sessions in the Operator view.